


Document Actions
gvSIG-Desktop 1.9 Alpha. Manual de usuario.
A preview is usually shown for functions that require extensive processing. It is usually located in the upper right corner of the dialog as shown in the following example:
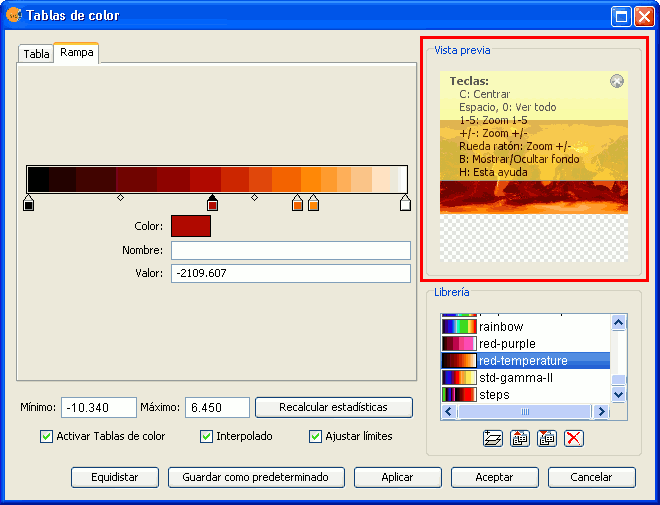
Component 'Preview'
The preview gives only an indication of how the final output will look like. Since only a minimum amount of data is used to generate the preview, the final result may be different.
The following options are available for preview windows:
- Move the image with the left mouse button.
- Center the image in the preview by pressing the C key.
- Zoom out to see the whole image with the space bar or 0
- Predefined zooms with keys 1 to 5. 1 gives a 1/1 zoom.
- Zoom with the mouse wheel or arrow keys + and -.
- Show a grid on the background to view images with transparency by pressing the B key.
- Access the help function by pressing the H key or clicking on the question mark in the upper right corner of the preview window.
The access to these preview functions through the shortcut keys only works when the focus is on the preview window, after clicking on it with the mouse.
For different types of functionality, the preview may appear with a different default zoom level. For example, the preview of colour tables is shown as completely zoomed out so that the effects on the whole image can be previewed.


